background

Tuesday, December 2, 2014

A little taq inspiration with Gecko Galz

Today starts the incredible Tags of Christmas on the Gecko Galz Blog!  Each day features a new and different tag created by the Design Team using holiday images from Gecko Galz.  Trust me.  These tags are amazing!  Today is my tag!


Head over to Gecko Galz Blog to see the tag and the FULL INSTRUCTIONS to make it!  Yes, that is the really cool part of the Tags of Christmas.  You get to see some wonderful creations but you also get the instructions!

Bonus:  You can get a FREE stamp set from Gecko Galz by following my blog.  To get your stamp set you need to follow my blog.  Once you are signed up to follow this blog you will need to email Gecko Galz and let them know that.  Email them at geckogalz2014@gmail.com.  If you are already a follower here then leave me a comment and then email geckogalz2014@gmail.com to let them know.  Your stamp set is emailed to you!  This offer is only good for today!  There will be bonuses each day so keep checking the Gecko Galz blog to get your Freebies and see the amazing creations.

Christmastime is here ladies!!!!

Sunday, November 16, 2014

Guest Designer for My Artistic Adventures

Good morning everyone.  Wow has the time flown by!  I blinked and the month of October was gone!

Today I am thrilled to bring you some wonderful projects using images from Heather Hudson and My Artistic Adventures.  She is a super talented lady and her stuff is amaaaaazzzzing!!!

For the guest spot today I got to pick (woohoo) my images.  So.....

The first image I choose are these adorable vintage candy canes.  I love that the sheet comes with them in different sizes already.  I printed them on cover weight glossy  paper.  I then decided to use my Silhouette Cameo to cut them out (save some time).  Grab the Pixscan mat and work my magic and Voila!  Perfectly cut images!  I chose a small one and adhered 2 alike ones back to back.  I then attached a thin wire through the top edge of them and placed the candy canes inside my ornament with some snow glitter.  I then threaded the wire up through the ornament top and topped the whole thing with a bunch of seam binding.

Keeping with the vintage images, the next image I chose is this Baby Jesus image.  The moment I saw it I knew I wanted to make a shadowbox ornament from it.  The images were printed as above and cut out.  I cut the angels from the top.  The baby image was adhered inside a box made from chipboard.  I distressed it and glittered it.  Next I added the angels to the top, glittered the star, added some vintage lace and added tiny roses.  The back has a ribbon hanger for it.

Heather is having some give aways as well!  Here is the info for that:
All you need to do for a chance to win is to

 and the


When you are finished with all the tasks, please send me an email letting me know what sheets you would like to win..or a general idea.  So I know you played along.


Head on over to My Artistic Adventures to see more goodies from the other guest designers.

Hope you have a great day!


Thursday, October 30, 2014

Gecko Galz Blog Hop


Hello Everyone!

I want to welcome everyone to the 13th destination of 
Gecko Galz 4th Annual Blog Hop
If you started here you might want to go back and start at the beginning at the Gecko Galz blog so you won’t miss anything!  
We have 21 AMAZING blogs for you to visit this weekend, each with some gorgeous projects created using the Gecko Galz collage images, that we are giving you for FREE! Each blog you visit will have another free Gecko Galz Collage sheet for you to down load, The one here is 
"LAND OF THE FEY". 
Also make sure you collect all the “secret” words on each blog so at the end of the hop you can send in the phrase to enter our drawing for a wonderful treat.  So sit back, relax, take your time and enjoy the hop!
We have FOUR amazing prizes up for grabs:
·        First is the Kit Club for each month for an entire year. This is exclusive sets for club members which include a paper set, stamp set, and collage images in each set! That is 12 different sets! This is a $144 value!
·        Second prize is the monthly collage sets for an entire year! Each month you will receive all 4 sets absolutely FREE! This is a $96 value.
·        Third prize is all of the individual collage sheets each month for a year, this includes the jewel it sheets! This is a $90 value!
·        And our Grand Prize ONE FULL YEAR of Gecko Galz PRODUCTS!!! That will Kit Club Set, 4 individual collage sheets, Jewel it set and 4 collage sets each month for the entire year! This is a prize worth $330!
Read on to learn how you can win!
First of all, you will need to visit all 21 blogs and leave a comment on each blog :) **This is important so we know you have been to all the blogs **. Collect all 20 words (one on each blog site except the home site) and at the end of the blog on the Fripperies and Butterflies site there will be a link to email the phrase to Gecko Galz. This enters you in the contest. On November 3rd we will randomly draw the 4 winners and email each of you, then we will post the winning names on the Gecko Galz blog site.

For an extra chance to win make a purchase from the Gecko Galz site and your name goes in again for a better chance of winning (each purchase you make that weekend gives you another chance to win) 


Your Secret Word is;
THE

Please enjoy this free Gecko Galz Collage sheet 
“Land Of The Fey”
 as well as the samples I have made using the images! 

(Just click on the picture for link to full size sheet)


To grab the images click HERE

Before I show you my designs I just wanted to say how much fun I have had creating with these designs!  I made more than what I will show you but tried to picture the ones I really, really loved.  Are you ready to see my creations?  Here we go:

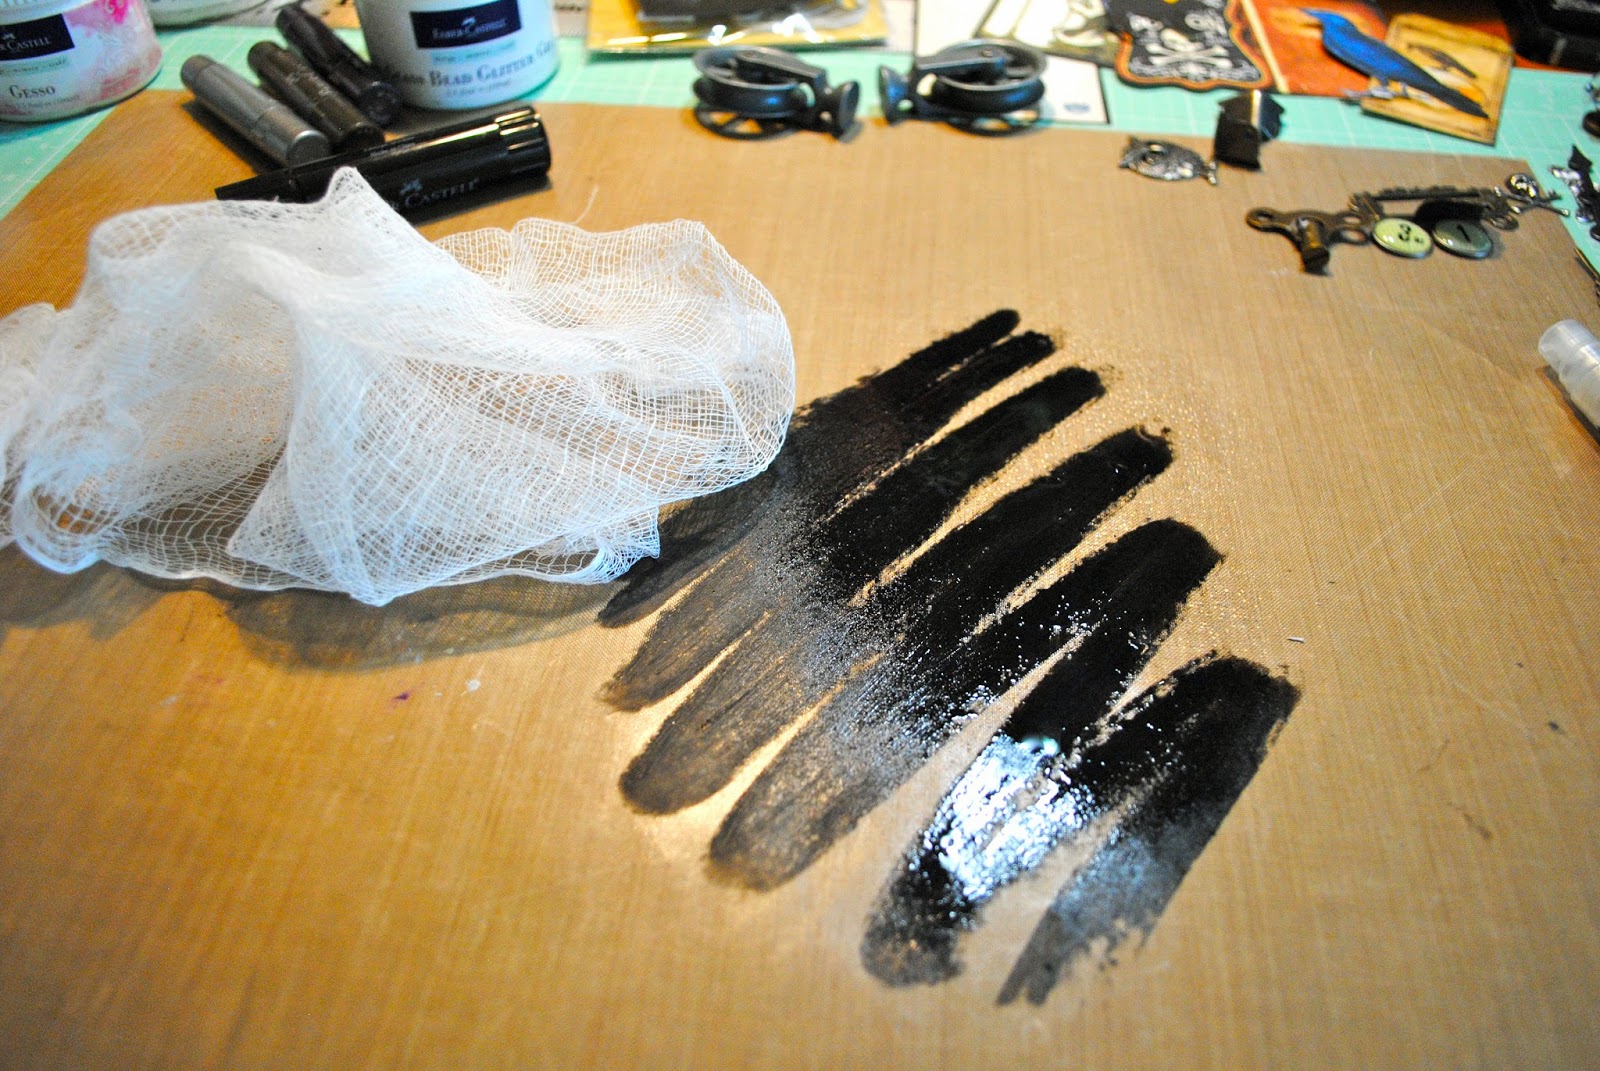
So, first up is a tag that I created using one of the fairy images.  I love the colors so much in this image! I added some cheesecloth, coordinating papers, and of course some vintage ribbon and seam binding to round out the tag.


Next up is a card with a little different design.  Again, I love the colors here.  Blues and turquoises.  Aaaagh.  I decided that I wanted to have a clear acrylic front on this card to showcase the image.  I began by cutting a rectangle from the acrylic and highlighting the edges with silver precious metals.  I then stamped tiny butterflies with white staz-on ink.  I added the image with foam tape on the center of a deep blue mat.  It appears that the image is floating when you look at it.  Completed the card by attaching a sentiment inside.  Love that it is visible from the front.  I do think this is definitely one of my favorites!

A little close-up of the sentiment on the card:


This image is so fun and colorful.  I had to use it!  Sometimes simplicity is perfect.  I think adding the colors and simplistic mats and then coordinating with fibers really allows the image to show its stuff!!!


And last, but certainly not least, is a tiny mixed media canvas.  This precious little trumpeting fairy is absolutely adorable.  It really struck a cord with me.  I began with a 3 x 5 canvas that I covered with a book page.  I then added turquoise gelato and some stamps in frayed burlap ink.  Next I began layering the images (also from Gecko Galz!) until I was happy with the background.  Add the image, vintage ribbon, and some trinkets here and there and Voila!


 It really needed the pearl dangling from the bottom!


A close-up of the layering:

Well, I hope you enjoyed my projects.  Please visit all of the blogs and see the wonderful creativity our team has!  Leave me some love in the comment section!
If You missed checking out one of the blogs or want to go through them again here is the rotation

Here is the Blog Hop Rotation


Wednesday, October 15, 2014

Banner love!

Today I want to share with you some banners I recently made.  I love making banners because you can make them simple and get a great look or you can make them more complex and set the mood in a room.

I wanted to hang the banners on my fireplace but did not want to put nails in it.  So, I made some blocks that have hooks on them that just sit on top of the mantle and the banners can hang from them.  Perfect!

Here are a few of the Halloween banners:


I used the Authentique halloween paper for these.  Great fun prints.  Also used some great images from Gecko Galz  They have wonderful image that can fit any season or need.

And of course, Christmas.......


Sorry for the turned pics.  I am having technical difficulties this morning with uploading pictures; that is why there is not a pic of the whole banner!  Ugh.  Anyway, this banner is also made with the Authentique Christmas paper line called Believe.  I love the vintage feel of the colors and patterns.  I think my favorite is the snowflake banner (made the snowflakes with an Elizabeth Craft Designs die).  It is so soft and vintage like.  Again, I used images from Gecko Galz on this banner too.

Just a quick inspiration today.  Have a great day!

Thursday, October 9, 2014

I am SO ready for Autumn!

I am so ready for autumn!  I am ready for the cooler weather.  The leaves.  The smell of pumpkin baking in the oven.  The yummy soups.  Come on fall.......

Here in the south it is still hot.  Hot and humid.  I don't mind the hot, but, I hate the humid!  It is hard to "get into" the spirit of fall when it is still 90 degrees outside!  There are wonderful scenes of pumpkins and all those wonderfully colorful gourds all around.  So, as long as I stay in my house or car with the A/C blasting I am good!!!

So, one afternoon when my soul was A/C cooled and the leaves were fluttering by my craft room window, I thought deeply of autumn:


I made this cute little mini album to celebrate autumn.  I have used Moxie Autumn Glory papers and some fun embellishments as well.

The papers were so lovely to begin with that I did not want to cover them with much!

I was working with my Silhouette Cameo and found these wonderful leaf shapes in their store.  Needless to say, I now have cut a whole bunch of them to use throughout the house!

Some of the pages are quite simple.  This one is a small pocket on the front for tags or pics and it also lifts up so you have a little more room for pictures.

Had to have some linen ribbon too!  And I see that I have lost the bead from the center of the flower!  Better find that......

This is the back of the album.  Just love that paper line!  The spine is a simple piece of canvas that was distressed inked.  It adds texture to the book and seemed like a perfect choice.

I am so ready for autumn!  Now I have the perfect little album to put my fall pictures in.  Here's hoping the weather starts cooperating!  What is your favorite season?


Tuesday, September 30, 2014

Sharing some goodies!

Oh what a lucky day!  Tomorrow that is.  I am headed to visit with my 2 oldest kiddos and I can hardly wait!  4 luxurious days with them....

I thought I needed to share a few goodies with you before I left.  I have been crazy busy teaching and designing these last few weeks.  But that is always a good thing :)

Now, on to the goodies:
Texas Book
 The Texas Book is an 8 x 8 album that is full of all things Texas.  Like bluebonnets....
 Vintage Texas road map for a page......

Heirloom album
 Love this Kaisercraft paper collection.  This album was a 2 day event and was filled with fun ideas.
Visit the Gallery page to see more of these pages.

Gecko Galz.....I love this little blue bird!  
 Gecko Galz again....mixing papers and images - so fun!

Have a great weekend!  See you next week with some really fun stuff!

Friday, September 19, 2014

Getting a jump on Halloween decorations

I don't know about you but in my house we love to decorate for Halloween!  I am not sure what it is about that holiday, but we really go all out for it.  Christmas is by far the holiday we decorate most for but Halloween comes in a close second.

Each year I think the retailers move up the date that they begin putting holiday items on display.  It is so frustrating!  I hate to buy anything (becuase seriously, where do I put it for the next 5 months?) but I also know that if I really want it , I have to buy it NOW.  It will not be there when I need it.  Halloween stuff will be long gone well before the actual holiday.  So, I have taken to making my own things for the holidays.

I was thrilled when Gecko Galz teamed with RHONDA"S ORIGINALS for the month of September. There are some seriously cute images there!  I thought I would share with you my samples using both product lines.

The first project I made is a small black cat matchbox.  The cat and witch hat is from Gecko Galz and the wings are from Rhonda's Originals.  I made the mini matchbox from cardstock and added the other images.


And the fun inside the matchbox:


Rhonda's Originals has some fun images for 3D work.  So for my next project I thought I would use one of those images.  I absolutely loved the roller skates she had.  So, I added the amazingly cute Gecko Galz cat, hat, and moon images to make:


The skate will sit up by itself on the tiny little gear wheels.  The moon is attached to a very thin piece of wire so it looks as if it is just floating above.


I am working on some fun projects to share with you for the month of October.  There will be a fun blog hop as well!

Enjoy your weekend!


Saturday, September 13, 2014

A sad day.....

Everyone has wishes in their lives.  Some are great; some are small.  It is just a part of who we are.  But it is so awesome when a "big" wish comes true!

I have wished that I could be a part of a wonderful company inspiring individuals creatively for some time now.  My wish came true when I became a part of the Design Memory Craft Summer 2014 Design Team.  Truly a wish come true!  I have enjoyed myself immensely.  It was everything I had wished for and oh so much more.  I met some amazingly talented ladies who have inspired me greatly.  I hope to hold them as friends for a lifetime.  I have had some ladies write and tell me how I inspired them.  Wow.  Just amazed me.

So, it was a sad day for me when my term ended last week.  For my last post with Design Memory Craft I made a small canvas to help me remember that wishes do come true.


I had a lot of fun making this little canvas.  For all the details please go to the DMC blog.  There is a step by step photo tutorial there.

It has been very crazy here.  Lots of projects.  Lots of classes.  Getting ready for the next quarter teaching.  I am making some changes very soon.  I hope you come back often to see them.

Be inspired today.  Make a wish.  It may come true!!!

Tuesday, September 2, 2014

Haunted Ephemera

What? you may ask could that mean?    Well, this month Gecko Galz has released new images and one of the collage sheets is called Haunted Ephemera.  Had you wondering didn't I?

When I saw these images I fell in love with them.  I knew right away what I wanted to do with them.

So I started with an 8 x 10 canvas that I covered with Tim Holtz word tissue paper and washi tape.  I used the Design Memory Craft Gel Medium to adhere it to the canvas.  I also gave the top a coat of Gel Medium to make sure all was secure on the canvas.  Once it was dry I gave it a light coat of Gesso.


I knew I wanted a pop out effect so I decided to use another canvas sized 5 x 7.  I cut the center "x" patterned and folded the canvas to the back of the wood frame and secured with glue.  Using Design Memory Craft's Whipped Spackle I added texture to the edges of this frame using a stencil and also to the main canvas.

This is the back of the 5 x 7 canvas.  You can see how it was adhered to the wooden structure of the canvas.


Once the Whipped Spackle was dry, I scribbled Black Cherry Gelato (from the Steampunk Gelato Set) and used my fingers to rub it in.


Next I added Iced Chai Gelato to the small frame and Chalkboard Paint to the brick pattern that I had stenciled on.  I also added a little of the Iced Chai to the canvas edges to distress it.


 This is what the canvas looked like when the chalkboard paint was dry.


I adhered the small canvas to the larger one.


Next I mixed some Whipped Spackle with black gelato to get a creamy consistency. 


Spread  this mixture around the edges of the small canvas and a little onto the larger one.  I tried to keep it rough, not smooth like rough concrete.


This is a side picture of this step.


I scribbled some Black Gelato on my splat mat, misted it with water, and wiped it up with cheesecloth.  This gives the cheesecloth a variegated color.


Time to begin layering in the papers.


You can see in this picture the witch picture, the raven on the left, and the poison tag from Gecko Galz.


Here you can see the witch spells tag,and the cat and the moon image as well.


There are so many gorgeous images from Gecko Galz this month!  Stop by and check them out.  Not all are Halloween images either!

I hope I have inspired you to create a little madness today!  Check back soon for more fun projects using Gecko Galz images.  I have some cute little things to share later this week.